Beauty and fashion are not the only things I love.. I am also a keen baker too! I bake almost every week and love baking anything from cakes and cookies to savoury pastries.
As part of this tutorial tuesday I am going to show you how to make ice cream cone cupcakes.
So lets get started..
You will need:
- a bowl and spoon for mixing the cake mixture
- cupcake tins
- some foil
- flat bottomed ice cream cones
- raspberry jam (optional)
- vanilla icing
- piping bag and nozzle (optional)
- sprinkles
I start off with a simple sponge recipe:
- 8oz sugar
- 8oz butter
- 8oz self raising flour
- 4 eggs
- a few drops of vanilla essence
Next you need to take your cupcake tins and cover them in 2 sheets of foil. You then need to make small cross in the foil over the centre of each of the 'dents' that usually hold the cake cases.
Next you need to make the holes slightly bigger with your finger and place the ice cream cone securely in it. This will hold the cones inplace when baking to stop them from toppling over.
Now its time to put the mixture into the cones. You need to fill it to about halfway. There is a handy line on the inside of the cone that can help you with this. Fill every cone to that line.

Now place them in the oven and leave to bake for 15 - 20 minutes.
Once they are golden brown and cooked in the middle they are done.
As soon as they are out of the oven you will need to pierce a hole in the bottom of each cone so that the cakes dont go soggy inside from the trapped steam.
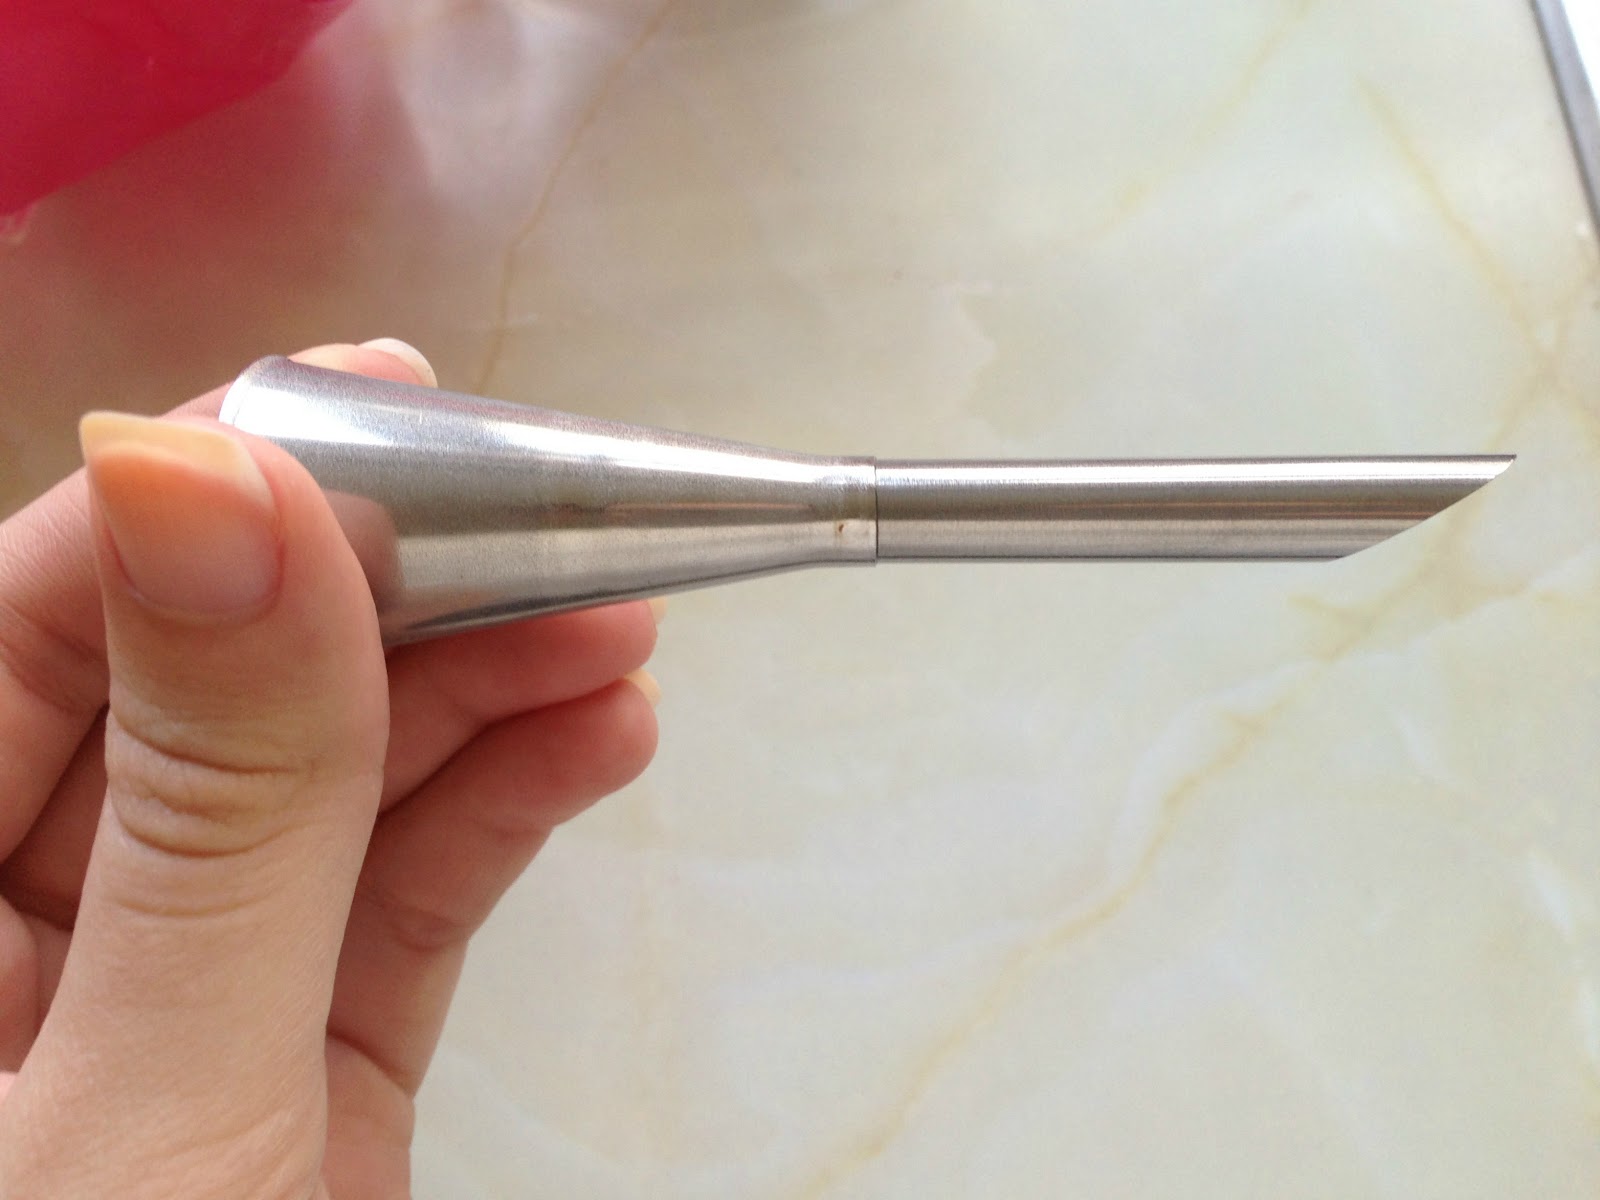
Once the cakes have cooled its time to fill them with jam. This is optional, if you would prefer your cakes plain then skip this step. If you do want jam in your cake then you will need your raspberry jam, piping bag and injector nozzle for this.
Once all of your cakes are filled with jam its time to ice them. You will need vanilla icing, a piping bag and a large star nozzle.
The aim is to pipe a tall swirl ontop of the cake to look like icecream. Start at the edge and work your way inwards. Once the top of the cake is covered, gradually bring the swirl upwards.
And finally, top them off with sprinkles!
And there you have your finished ice cream cone cupcakes! Enjoy! :)
Zoe x


